 DEUCE
DEUCEHow to make photos look like film on iPhone
To make an iPhone photo look like film, change four things: lift the blacks slightly and soften contrast, shift color toward warm highlights and muted shadows, add fine grain, and add a faint glow around bright areas. Do it in an editor with a film preset, then lower the strength until it looks natural.
Coming soon to iPhone
What makes a photo look like film?
A film look comes from a few repeatable traits, and each one has a physical cause. Photographic film records light on silver halide crystals or dye layers in an emulsion, and the way it does that shapes the picture (Photographic film on Wikipedia).
Four traits do most of the work:
- Tone: blacks are rarely pure black, and highlights roll off gently instead of clipping.
- Color: each film leans in a direction, for example warm highlights or cool shadows.
- Grain: a random texture from the crystals that formed the image.
- Glow: bright areas bleed light into their surroundings.
Which settings should you change?
You can reproduce each trait with ordinary editing sliders. The table shows what to move and in which direction. Start small, because film looks work through many gentle changes.
| Trait | What to change | Direction |
|---|---|---|
| Faded blacks | Blacks, fade | Lift blacks a little |
| Soft contrast | Contrast, highlights | Lower contrast, pull highlights down |
| Color cast | Temperature, tint, split tone | Warm highlights, muted shadows |
| Grain | Grain amount and size | Fine grain, low to medium amount |
| Glow | Halation or bloom | Low amount, high threshold |
| Wear | Light leak, dust | One effect at most |
How do you do it step by step?
The easiest route is to start from a complete film look and then tune it, because the tone, color and grain are already balanced against each other.
- Shoot in soft light. Overcast skies and the hour after sunrise or before sunset suit film looks best.
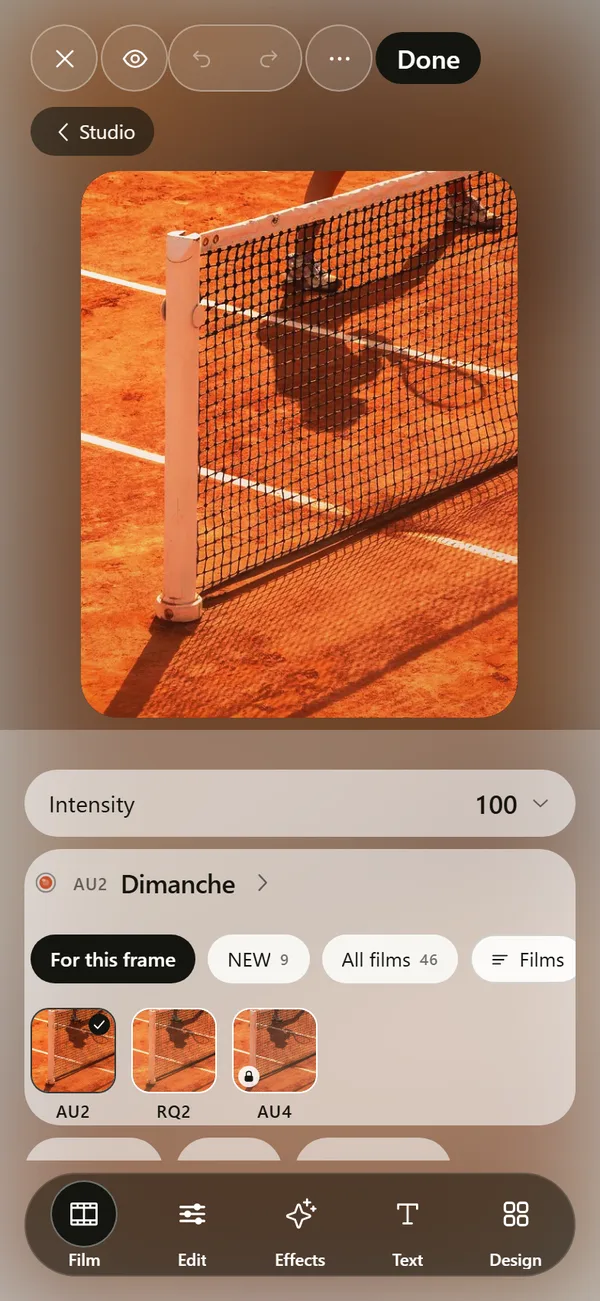
- Open the photo in an editor with film looks. In DEUCE, add it in the Studio tab and tap it.
- Choose a film. In DEUCE, tap the Film dock and scroll the strip. Pick one whose character matches the scene.
- Set the intensity. In DEUCE, 100 is the film's full character. Try 60 to 80 first, then judge faces and skies.
- Adjust one or two things by hand: exposure, temperature or grain size.
- Hold the photo to compare with the original, then export.
What should you shoot to make the look work?
Film looks reward certain light. Low sun adds warmth that a preset can build on, and golden hour light gives long shadows and warm color (Golden hour on Wikipedia)). Flat midday sun on a white shirt can clip, and no preset fixes clipped highlights.
Frame with space around the subject. Grain and glow need areas of tone to show up in, so a plain wall or an empty court helps.
How much grain is too much?
Film grain is the random texture left by the developed silver or dye clouds, and how visible it is depends on the film and on how large you view the picture (Film grain on Wikipedia). On a phone screen, a fine grain at low to medium amount reads as film. A heavy grain reads as noise.
If faces look dirty, reduce grain amount before reducing the whole look.
What about halation and light leaks?
Halation is a soft glow around bright highlights, often warm. It is subtle, and it suits night scenes with lights and sun on bright surfaces. The guide on what halation is explains the cause.
A light leak is an orange or red wash at the edge of a frame. One leak adds character, and three look like a costume.
How does DEUCE handle this?
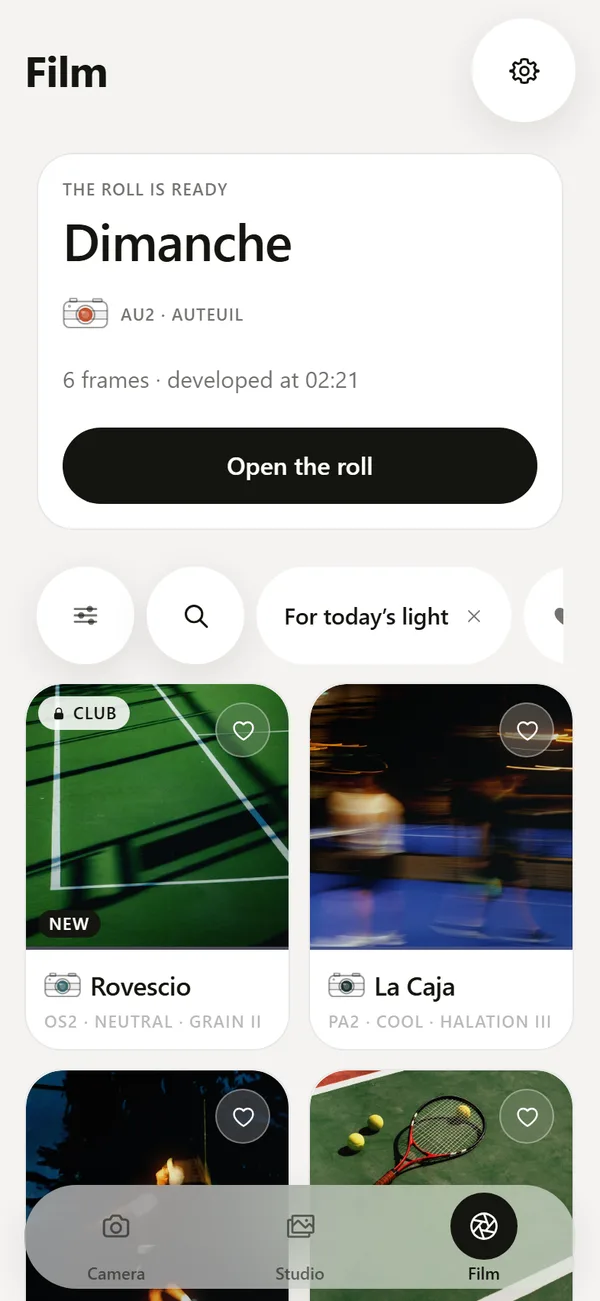
DEUCE has a catalog of 46 films, each a combined tone, color, grain and halation setting. You can compare two films with a divider, scale grain and halation, and add effects such as light leaks and dust. The original is never changed. See the film catalog and the photo editor.
Can the Photos app do it?
Partly. Open a photo in the Photos app, tap Edit and use the adjustment dials. Lower Contrast and Highlights, lift Black Point slightly, nudge Warmth and keep Saturation modest. Vignette adds darker edges. You can get a soft, faded print this way.
What the Photos app lacks is grain and halation. Those need an editor that adds texture and a response to highlights, and they are the two traits that make a picture read as film instead of as a muted digital photo.
Does it matter whether the film is color negative or slide?
Yes. Photographic film comes as negative film, which is printed or scanned into a positive, and as reversal or slide film, which gives a positive directly (Photographic film on Wikipedia). Negative stocks tend to have softer contrast and a forgiving tone range, while slide stocks have punchier color and less latitude.
For a gentle, flattering look, aim for negative-style tone: soft contrast and roll-off in the highlights. For strong, saturated color, aim for slide-style punch. DEUCE's film notes say which direction a film leans, for example overcast honest whites or maximum surface and high contrast.
Which look suits which scene?
Pick the look from the light, not from a favorite preset.
| Scene | Look to aim for | Why |
|---|---|---|
| Portrait in shade | Soft, warm, low contrast | Flatters skin and hides texture |
| Midday sun | Dense color, moderate contrast | Handles bright, harsh light |
| Overcast | Muted, honest whites | Keeps flat light from looking gray |
| Night with lamps | Grain plus halation | Gives glow around lights |
| Street or architecture | Black and white | Shifts attention to shape |
A quick before and after workflow
Work on a copy or in an editor that keeps the original. Make the film choice first, then fix exposure, because a film look will shift brightness. Add grain last, at the final crop. Export, then look at the result on your phone at arm's length, which is how most people will see it.
How do you keep a film look from looking fake?
Fake film looks have three giveaways: grain applied evenly over everything, a color cast that is the same in shadows and highlights, and effects stacked until the frame looks like a costume. Real film varies. Grain is more visible in midtones and shadows. Color shifts differently in light and dark areas. Wear is occasional.
So reduce the whole look rather than any one effect, vary the settings between photos, and use wear sparingly. If you can name every effect on the picture at a glance, it is probably too much.
What about shooting for the look instead of editing for it?
A film camera mode shows the look live, which changes how you frame. You see where highlights would blow out and where shadows sink, and you move before the shutter instead of fixing it after. DEUCE's camera applies the chosen film to the live view, with 24, 35, 55 and 85 mm lenses, so you judge the result as you shoot.
If you would rather be surprised, load a roll and shoot blind. The sunrise roll page explains how.
Common mistakes
Using a preset at full strength on every photo. Stacking many effects. Adding grain before cropping, so the grain gets scaled. Judging the look on a bright screen only. Compare the result at normal viewing size before you export.
Frequently asked questions
Can I get a film look without an app?
Partly. The Photos app on iPhone lets you adjust exposure, contrast, highlights, shadows and color and apply filters, but it has no grain or halation. A dedicated film editor covers those.
Should I edit a photo or shoot with a film camera app?
Both work. Editing gives you control after the fact. A film camera app shows the look before you shoot, which helps you judge light.
What is the easiest film look to start with?
A warm, low-contrast look with fine grain. It suits most outdoor photos and is hard to overdo.
Does a film look reduce photo quality?
Grain adds texture and slightly reduces sharpness, but the original file is unchanged when the editor stores edits separately, as DEUCE does.
Does DEUCE work on photos I took earlier?
Yes. Add them in the Studio tab and put a film on them.
Keep exploring
 46 Film Looks for iPhone Photos46 films with codes, series and a comparison divider.Film Photo Editor for iPhoneFilm, light, effects, text and design tools. Originals stay untouched.What Is Halation in Photography?The glow around bright highlights on film, and how it differs from bloom.
 Disposable Camera Look on iPhoneWhy a single-use camera feels special and how to recreate it on a phone.